mini raspberry pi handheld notebook
most certainly not a "new" idea, but I eventually got around to putting this together:

I 3D printed out the parts, takes about 6-8hours in total. I already had one of these bluetooth keyboards knocking around from way-back-when, it's kinda cool as it has a little mouse pad on the right hand side and if you set up the Pi properly, it picks it up on boot-up and "just works".
I have a 3.5" touchscreen and an RPi3, albeit not the same screen as shown in the article, (but I'll come back to that later). I already had a battery power battery from another project that didn't go anywhere, so it seemed like a good idea to throw all these parts together and make this.
The one gotcha I currently have is related to the hinge screws/nut things, I don't have what is needed - I've gone through every "box of bits" I have - what I did find was 2 pop-rivets that fit just right, but they don't obviously stay in place - I'm sure I'll figure out something over the next week or so... or find something else I can take apart and find some "donor parts" that'll do the job - I love recycling :-)
anyway, I printed this out, the keyboard surround bottom freaked out a bit on the first 3D print, so when I put the keyboard inside it actually split and broke - oh, no! I can repair it, but as my missus says, "why don't you just print it out again?". good point. When I return back home later in the week, I'll set the 3D printer up again and print it out again....
But, the good news is, I did actually fit everything inside the lid/screen part - I sort of followed the adafruit article, well, the essence of it - I ended up having to move things around abit as my parts weren't exactly the same, but the wiring diagram was helpful. As I said earlier, my screen was different so it connected directly onto the RPi3, ah...so I had to solder directly onto the #2 and #6 pins (underneath) and my power battery had a massive switch connected to it (that I bodge-job fitted for a different project) and I didn't have a microswitch for turning on/off - all I had was an old-fashioned metal flick-switch that I think looks more CyberPunk :-)
After having much fun with a soldering iron, super-glue (and then realising that was a silly idea) and some of those white-pad things (for holding my different sized screen in place) and a couple of random screws for the lid, I have a working and functioning little RPi3 notebook - with a touchscreen!
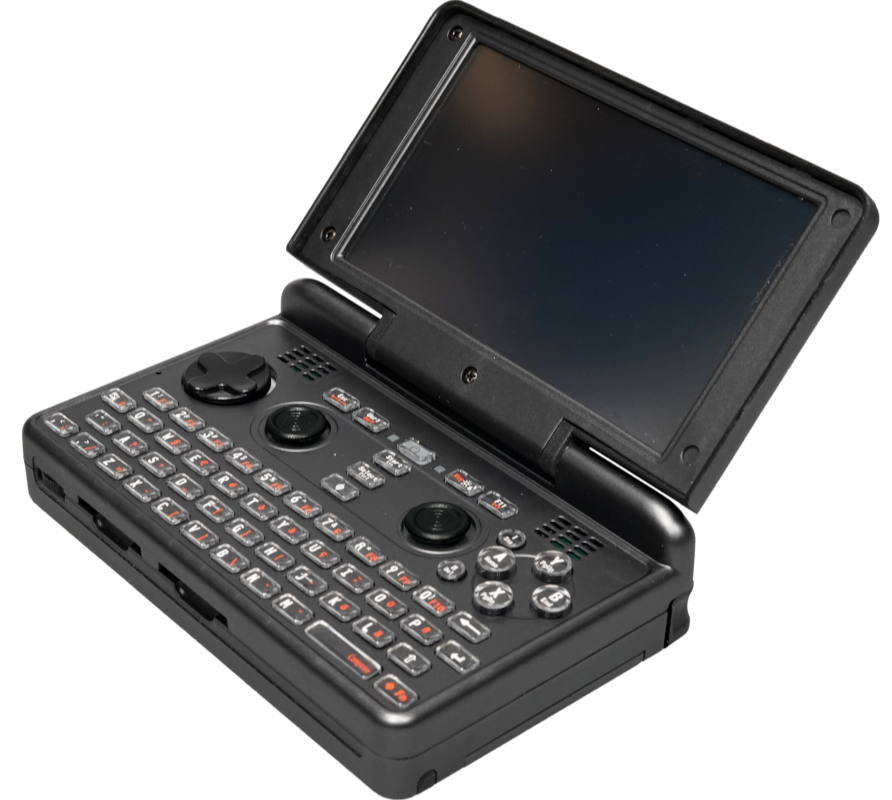
Okay - it's nowhere as cool as my Open Pandora (that it turns out I've had for 10 years now - YES, 10 years, this was sooooo advanced even back then)
But, it's a fun little project and it's portable too...I can plug Arduino devices into the USB connections, now I'm starting to think of some interesting other projects to use it for now.....
I'll update with some photo's of my actual device later in the week.
right, time to listen to some music:
[UPDATE: Here's photo's of my real device in making....]


There we have it, all working as it should..... well....until I downloaded VLC and started to play some music. I hear nothing. I switched from HDMI to Analog thinking that was the issue. Nope.
I plugged in some regular earphones to the 3.5mm socket and the sound was working fine.
I think I may have fried the PAM8302A sound amplifier, so I've ordered a new one from Amazon, should arrive tomorrow, will swap it out and see if it does the job. It should do.
Then it'll be "all working as it should"... will video it for proof.
[UPDATE2:oops]
and boom! somehow I managed to fry the OS installation...won't boot now. okay, time to put NOOBS back on and set it all up again.
I must remember that I need to setup Bluetooth to bond to the keyboard, then visit here to download the screen Driver and run ./LCD35-show, then a reboot and all working again...
I 3D printed out the parts, takes about 6-8hours in total. I already had one of these bluetooth keyboards knocking around from way-back-when, it's kinda cool as it has a little mouse pad on the right hand side and if you set up the Pi properly, it picks it up on boot-up and "just works".
I have a 3.5" touchscreen and an RPi3, albeit not the same screen as shown in the article, (but I'll come back to that later). I already had a battery power battery from another project that didn't go anywhere, so it seemed like a good idea to throw all these parts together and make this.
The one gotcha I currently have is related to the hinge screws/nut things, I don't have what is needed - I've gone through every "box of bits" I have - what I did find was 2 pop-rivets that fit just right, but they don't obviously stay in place - I'm sure I'll figure out something over the next week or so... or find something else I can take apart and find some "donor parts" that'll do the job - I love recycling :-)
anyway, I printed this out, the keyboard surround bottom freaked out a bit on the first 3D print, so when I put the keyboard inside it actually split and broke - oh, no! I can repair it, but as my missus says, "why don't you just print it out again?". good point. When I return back home later in the week, I'll set the 3D printer up again and print it out again....
But, the good news is, I did actually fit everything inside the lid/screen part - I sort of followed the adafruit article, well, the essence of it - I ended up having to move things around abit as my parts weren't exactly the same, but the wiring diagram was helpful. As I said earlier, my screen was different so it connected directly onto the RPi3, ah...so I had to solder directly onto the #2 and #6 pins (underneath) and my power battery had a massive switch connected to it (that I bodge-job fitted for a different project) and I didn't have a microswitch for turning on/off - all I had was an old-fashioned metal flick-switch that I think looks more CyberPunk :-)
After having much fun with a soldering iron, super-glue (and then realising that was a silly idea) and some of those white-pad things (for holding my different sized screen in place) and a couple of random screws for the lid, I have a working and functioning little RPi3 notebook - with a touchscreen!
Okay - it's nowhere as cool as my Open Pandora (that it turns out I've had for 10 years now - YES, 10 years, this was sooooo advanced even back then)
But, it's a fun little project and it's portable too...I can plug Arduino devices into the USB connections, now I'm starting to think of some interesting other projects to use it for now.....
I'll update with some photo's of my actual device later in the week.
right, time to listen to some music:
[UPDATE: Here's photo's of my real device in making....]

A, from the back photo, to show the RPi3 internals

The first 3D print of the keyboard casing

As you can see, it didn't come out too good, so caused a break

3D printer fired up again...

..and under way

I gotta tidy up my desk at some point!

...and there we go, printed and fits nice and snug

side shot showing the USB connectors still available to use

and there she is all booted up and working as it should!

The keyboard has a mouse pad, but it's also touch screen too

of course, I'm straight into Terminal :-D
There we have it, all working as it should..... well....until I downloaded VLC and started to play some music. I hear nothing. I switched from HDMI to Analog thinking that was the issue. Nope.
I plugged in some regular earphones to the 3.5mm socket and the sound was working fine.
I think I may have fried the PAM8302A sound amplifier, so I've ordered a new one from Amazon, should arrive tomorrow, will swap it out and see if it does the job. It should do.
Then it'll be "all working as it should"... will video it for proof.
[UPDATE2:oops]
and boom! somehow I managed to fry the OS installation...won't boot now. okay, time to put NOOBS back on and set it all up again.
I must remember that I need to setup Bluetooth to bond to the keyboard, then visit here to download the screen Driver and run ./LCD35-show, then a reboot and all working again...
Comments
Post a Comment